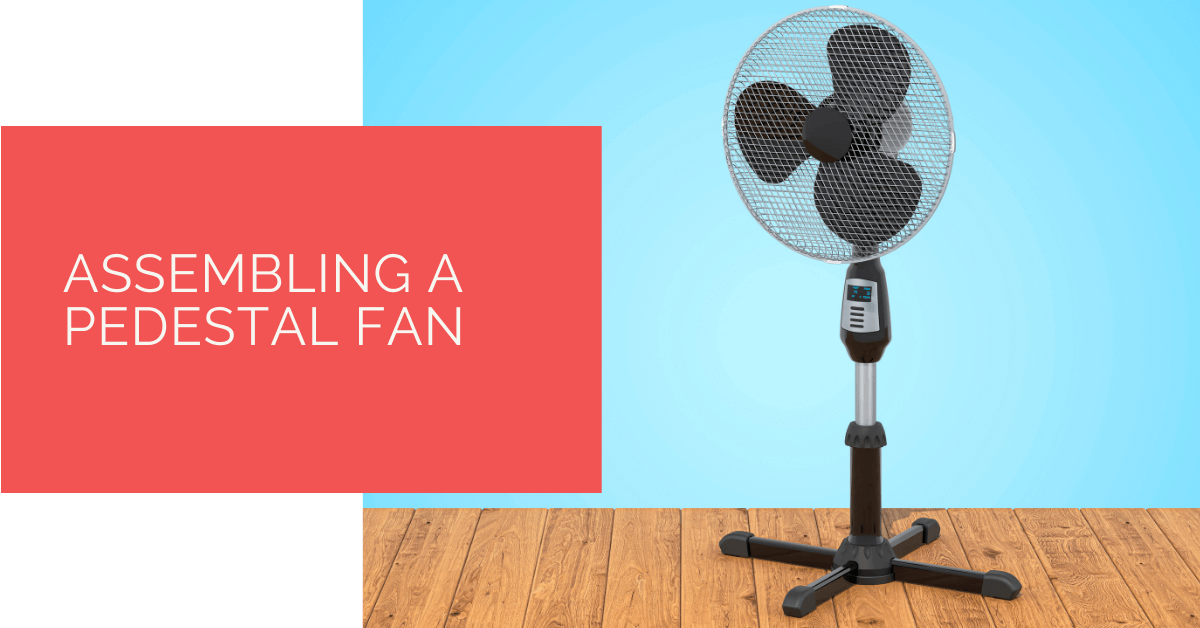
Assembling a pedestal fan is usually straightforward, but the order matters. Most problems after assembly, such as wobbling, rattling, poor airflow or a loose front grille, come from one small part being fitted the wrong way round or not tightened properly.
The exact design varies between brands, so your instruction manual should always take priority. That said, most pedestal fans follow the same basic layout: base, lower pole, extension pole, motor head, rear grille, blade, blade cap and front grille. If you identify those parts before you start, the job becomes much easier.
This guide walks through the assembly process in plain English, explains the common mistakes, and shows how to test the fan safely before regular use.
Contents
- 1 Key Takeaways
- 2 Before You Start
- 3 Pedestal Fan Parts Checklist
- 4 How To Assemble A Pedestal Fan
- 5 First Test And Adjustments
- 6 Fixing Wobble, Rattles And Poor Airflow
- 7 Where To Place A Pedestal Fan
- 8 Cleaning And Storage
- 9 When To Stop And Return The Fan
- 10 Case Study: Fixing A Wobbly New Pedestal Fan
- 11 Expert Insights From Our Heating And Cooling Engineers
- 12 Frequently Asked Questions
- 12.1 How Long Does It Take To Assemble A Pedestal Fan?
- 12.2 Do I Need Tools To Put A Pedestal Fan Together?
- 12.3 Which Way Does The Blade Cap Tighten?
- 12.4 Why Is My Pedestal Fan Wobbling After Assembly?
- 12.5 Should I Open The Motor Housing Or Connect Wires Myself?
- 12.6 How Do I Make A Pedestal Fan Oscillate?
- 12.7 How Often Should I Clean A Pedestal Fan?
- 12.8 Can I Use A Pedestal Fan Overnight?
- 12.9 What Should I Do If Pedestal Fan Parts Are Missing?
- 13 Summing Up
Key Takeaways
- Lay out all parts before assembly so you can spot missing screws, caps or grille clips before the fan is half-built.
- Build the base and pole first, then attach the motor head, rear grille, blade and front grille in that order.
- Do not open the motor housing or alter internal wiring. If wiring looks loose or exposed, stop and return the fan.
- Many blade caps use a reverse thread, so they may tighten the opposite way to a normal screw.
- A wobbling fan is usually caused by an uneven base, loose pole, incorrectly seated blade or unstable floor.
- Always unplug the fan before adjusting the grille, cleaning the blades or checking loose parts.
Before You Start
Choose a clear floor area and unpack everything before you reach for a screwdriver. Pedestal fan parts are light, but the front grille, rear grille and blade can bend or crack if they are stepped on or forced into place.
Most fans need only a cross-head screwdriver, and some tool-free models use hand-tightened caps and clips. Keep the packaging nearby until the fan is tested because small screws, washers and grille fasteners can hide in cardboard inserts.
Do not plug the fan in while you are assembling it. It should only be connected to power after the blade is fully guarded, the base is secure and the controls are in the off position.
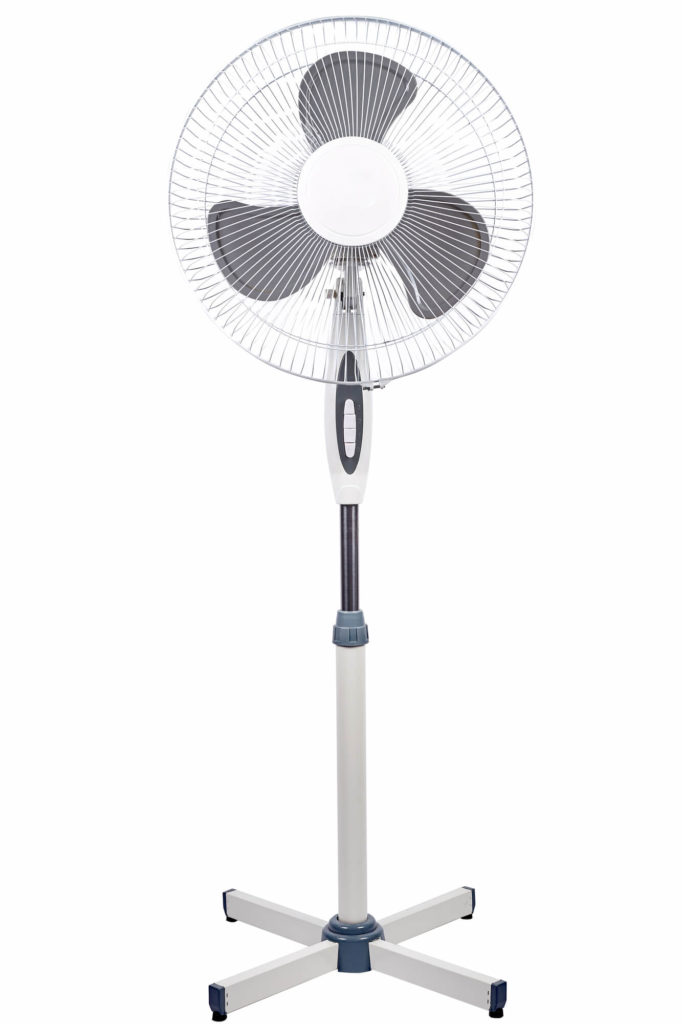
Pedestal Fan Parts Checklist
The names vary slightly by manufacturer, but most pedestal fans include the same core pieces. Check them against the manual before starting.
| Part | What It Does | What To Check |
|---|---|---|
| Base | Supports the fan and keeps it stable | No cracks, missing feet or bent cross pieces |
| Lower Pole And Extension Pole | Set the fan height | Height ring or clamp tightens properly |
| Motor Head | Contains the motor, controls and oscillation mechanism | No loose casing, exposed wires or transport damage |
| Rear Grille | Sits behind the blade as a safety guard | Fixing hole or guide tabs line up with the motor housing |
| Blade | Moves air through the grille | Not cracked, warped or rubbing the guard |
| Blade Cap Or Spinner | Locks the blade onto the motor shaft | Thread turns smoothly and tightens fully |
| Front Grille | Covers the blade from the front | Clips, hooks or safety screw are present |
How To Assemble A Pedestal Fan
The steps below cover the common assembly sequence. If your manual gives a different order, follow the manual, especially for blade nuts, safety screws and grille clips.
1. Build The Base
Start with the base because everything else depends on it. Some pedestal fans use a heavy round base. Others use a cross base made from two metal or plastic pieces that slot together.
If the fan has a cross base, align the two pieces so they sit flat and lock together. Fit any base cover before tightening the pole, otherwise you may have to undo the base later. Insert the screws from the correct side and tighten them evenly. Do not overtighten plastic parts because they can crack.
2. Fit The Lower Pole And Extension Pole
Attach the lower pole to the base, then slide the extension pole into position. The height adjustment ring or clamp should hold the inner pole firmly without slipping. If the pole drops when you let go, loosen it, extend it again and retighten the ring squarely.
Set the pole to a mid-height while assembling the fan. It is easier to handle the motor head when the stand is not fully extended.
3. Attach The Motor Head
The motor head usually slides onto the top of the extension pole and is secured with a locking screw or clamp at the back of the control housing. Make sure it sits straight before tightening.
Do not open the motor housing or attempt to connect internal wiring. A normal pedestal fan should arrive with the motor, control panel and power cable already wired. If you can see exposed wires, damaged insulation or loose electrical connections, stop using the product and contact the retailer.
4. Fit The Rear Grille
The rear grille normally sits against the motor housing before the blade goes on. Align the grille with the guide pegs or locating tabs. Many models have a small screw hole at the bottom of the grille, which helps you position it the right way up.
Secure the rear grille with the grille lock nut or retaining ring. It should sit flat against the motor housing. If it is tilted or loose, the blade may rub when the fan starts.
5. Fit The Blade
Slide the blade onto the motor shaft. There is often a flat edge, slot or notch that must match the shape of the shaft. Do not force the blade. If it does not slide on smoothly, remove it and check the alignment.
Once the blade is fully seated, fit the blade cap or spinner. Many pedestal fans use a reverse thread here, so the cap may tighten counter-clockwise rather than clockwise. This is deliberate because the blade rotation helps keep the cap secure. Check the arrow or wording on the cap if you are unsure.
6. Attach The Front Grille
Hook the front grille onto the rear grille, usually from the top or bottom depending on the model. Close each clip around the rim, then fit the small safety screw if one is supplied. The front grille should not rattle, open easily or touch the blade.
Spin the blade gently by hand before plugging the fan in. It should rotate freely without scraping either grille. If it rubs, unplugged and unpowered, re-seat the blade and check both guards are straight.
First Test And Adjustments
Place the fan on a level floor, set the speed control to off, then plug it into a suitable wall socket. Start on the lowest speed and watch the blade through the grille. It should spin smoothly without wobbling, scraping or strong vibration.
Test each speed briefly. Then test the oscillation control. On many pedestal fans, pushing the oscillation knob down starts side-to-side movement and pulling it up stops it. Do not force the fan head past its natural range of movement.
Finally, adjust the tilt and height. Support the fan head with one hand while adjusting tilt, and tighten the height ring after changing position. A loose height adjustment can make the fan feel unstable.
Fixing Wobble, Rattles And Poor Airflow
A new fan should not shake aggressively. A little movement at high speed is normal on some lightweight models, but heavy wobble means something needs checking.
| Problem | Likely Cause | What To Try |
|---|---|---|
| Fan wobbles on the floor | Base not seated, pole loose or uneven floor | Retighten base screws, check feet and move to a level surface |
| Blade scrapes the grille | Rear grille not flat or blade not fully seated | Unplug, remove front grille and refit the rear grille and blade |
| Front grille rattles | Clips or safety screw not secured | Close all clips and fit the small grille screw |
| Weak airflow | Blade fitted incorrectly, low speed setting or blocked grille | Check blade direction, clean grilles and test higher speed |
| Oscillation does not work | Oscillation knob not engaged or mechanism jammed | Check the manual, avoid forcing the head and return if faulty |
If the motor smells hot, sparks, buzzes loudly, trips the socket or shows any sign of electrical damage, switch it off and unplug it. Do not keep testing it to “see if it settles”.
Where To Place A Pedestal Fan
A pedestal fan cools people by moving air across the skin. It does not lower the room temperature like an air conditioner, so placement makes a big difference to how useful it feels.
For a bedroom or home office, place the fan where it can move air across the room without blowing directly into your face for hours. For a living room, use oscillation to spread airflow across the seating area. In a hot room, placing the fan near a cooler hallway or shaded window can help move fresher air into the space.
Keep the fan away from curtains, loose fabric, trailing cables and unstable furniture. If you are comparing fan types for different rooms, our guide to different types of fans explains when pedestal, tower, desk and floor fans make most sense.
Cleaning And Storage
Dust on the grille and blades reduces airflow and can make the fan noisier. Before cleaning, switch the fan off, unplug it and wait for the blade to stop fully.
Remove the front grille if your model allows it, then wipe the grille and blades with a slightly damp cloth. Keep water away from the motor housing, controls and plug. Do not spray cleaner directly into the fan. Dry all parts before reassembly.
For storage, loosen the height pole if needed, coil the cable loosely and keep the fan somewhere dry. Do not store heavy items on top of the grille because a warped guard can rub against the blade next summer.
When To Stop And Return The Fan
Some assembly problems are not worth trying to fix. Return the fan or contact the retailer if parts are missing, the motor housing is cracked, the power cable is damaged, the blade is warped, the grille will not close, or the base cannot be made stable.
You should also stop if the instructions ask you to do something that does not match the parts in the box. Manufacturers sometimes update designs without updating online listings, and forcing mismatched parts can create a safety risk.
For broader cooling choices, a pedestal fan is not the only option. Our pedestal fan buying guide is useful if you decide the current model is too flimsy, too noisy or too awkward to clean.
Case Study: Fixing A Wobbly New Pedestal Fan
Background
A homeowner assembled a new pedestal fan for a bedroom but noticed heavy wobbling on the medium and high settings. The fan worked, but the vibration made it too noisy to use overnight.
Assessment
The base screws were tight, but the extension pole had not been seated fully into the lower pole before the height adjustment ring was tightened. The front grille was also clipped on, but the small safety screw had not been fitted.
Fix
The fan was unplugged, the height ring loosened, and the pole was re-seated before being tightened again. The front grille was aligned and secured with the missing screw from the packaging.
Result
The fan still had a small amount of movement on high speed, which is normal for many lightweight pedestal fans, but the heavy wobble and grille rattle disappeared. The practical lesson was simple: a fan can look assembled before it is actually secure.
Expert Insights From Our Heating And Cooling Engineers
One of our senior heating and cooling engineers with over 18 years of experience says most pedestal fan problems start with rushed assembly.
“People often tighten the base, then treat the grille and blade as an afterthought. But the blade, rear grille and front grille need to sit square. If one part is slightly off, the fan may still run, but it can vibrate, scrape or become noisy.”
He also warns against DIY electrical fixes. “If a new fan has loose wiring, a damaged cable or a cracked motor housing, do not repair it yourself. Unplug it and return it. Assembly should mean fitting the supplied parts, not opening the electrics.”
Frequently Asked Questions
How Long Does It Take To Assemble A Pedestal Fan?
Most pedestal fans take around 10 to 25 minutes to assemble once all parts are unpacked. Tool-free models can be quicker, while fans with cross bases, grille screws and remote-control holders may take a little longer.
Do I Need Tools To Put A Pedestal Fan Together?
Many pedestal fans need only a cross-head screwdriver for the base or grille safety screw. Some models are tool-free and use hand-tightened rings or clips. Check the manual before starting so you do not damage plastic parts with the wrong tool.
Which Way Does The Blade Cap Tighten?
On many pedestal fans, the blade cap or spinner uses a reverse thread and tightens counter-clockwise. This helps stop it loosening while the blade spins. Look for arrows or wording on the cap, and follow the manufacturer’s instructions if they differ.
Why Is My Pedestal Fan Wobbling After Assembly?
Wobbling usually comes from a loose base, uneven floor, badly seated pole, incorrectly fitted blade or loose grille. Unplug the fan, check each fixing point and make sure the blade turns freely without rubbing. If the base is damaged or the fan still shakes heavily, return it.
Should I Open The Motor Housing Or Connect Wires Myself?
No. A normal pedestal fan should arrive with the motor and cable already wired. You should not open the motor housing, connect internal wires or repair damaged insulation. If anything electrical looks loose or exposed, stop and contact the retailer.
How Do I Make A Pedestal Fan Oscillate?
Many pedestal fans use a small oscillation knob on top of or behind the motor housing. Pushing it down often starts oscillation, while pulling it up stops the fan head when it reaches the direction you want. Do not force the head beyond its normal movement range.
How Often Should I Clean A Pedestal Fan?
During regular summer use, check the grille and blades every few weeks. Dust can reduce airflow and increase noise. Always unplug the fan before cleaning, keep water away from the motor housing, and let parts dry before reassembly.
Can I Use A Pedestal Fan Overnight?
You can use a pedestal fan overnight if it is stable, undamaged, correctly assembled and placed away from curtains, bedding and trailing cables. Use a timer if available, and avoid pointing strong airflow directly at your face for the whole night.
What Should I Do If Pedestal Fan Parts Are Missing?
Do not improvise with random screws or clips, especially for the grille, blade cap or base. Missing parts can affect stability and safety. Keep the packaging, check the manual, and contact the retailer or manufacturer for replacement parts or a return.
Summing Up
A pedestal fan is easy to assemble when you follow the right order: base, pole, motor head, rear grille, blade, blade cap and front grille. Take a few extra minutes to check every part sits squarely, because that is what prevents wobble, scraping and loose guards.
Once the fan is built, test it on a low setting, check oscillation and height adjustment, and keep it clean through the warmer months. If anything looks damaged, loose or electrically unsafe, do not try to repair it yourself. A fan should be simple to assemble, stable in use and safe before it ever becomes part of your summer routine.
Updated