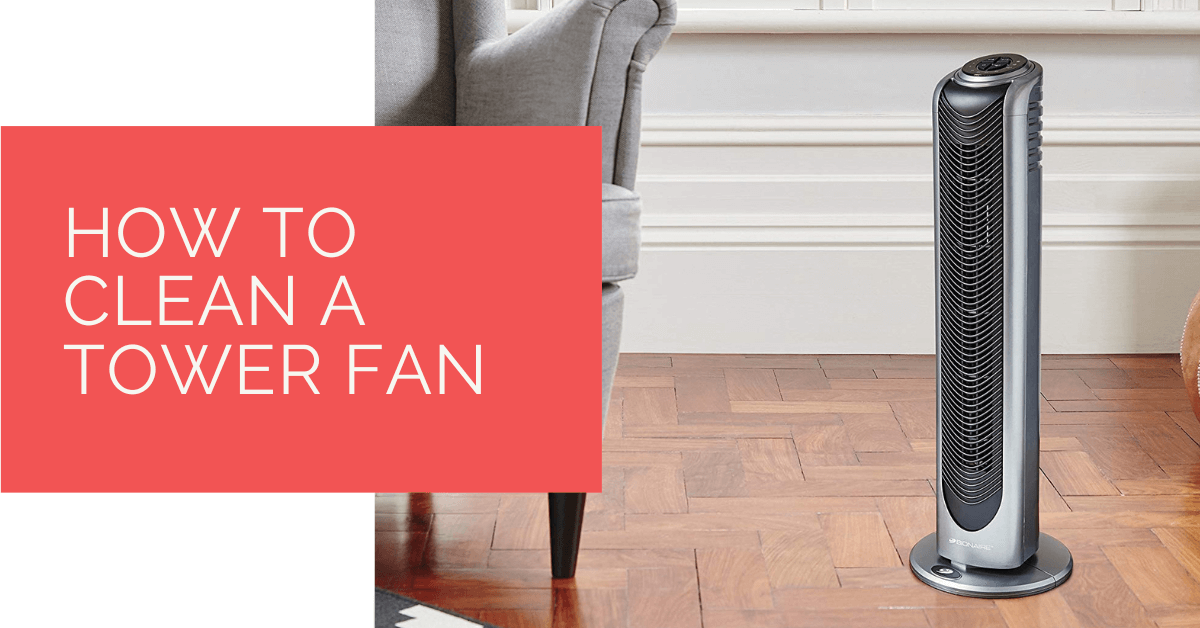
Clean a tower fan safely by unplugging it, vacuuming vents, wiping the body and only opening the casing if the manual allows it.
Tower fans hide dust inside narrow vents, so the reader needs a safe method that improves airflow without damaging clips, motors or oscillation parts. The goal is to restore airflow and safety without forcing apart parts that were never designed for user servicing.
Contents
- 1 Key Takeaways
- 2 Safe Cleaning Method
- 3 What Not To Do
- 4 Maintenance And Warning Signs
- 5 Case Study: Cleaning Restored Performance
- 6 Expert Insights From Our HVAC Engineers
- 7 Frequently Asked Questions
- 7.1 Can You Take A Tower Fan Apart To Clean It?
- 7.2 How Do You Get Dust Out Of A Tower Fan?
- 7.3 Can I Use Compressed Air?
- 7.4 Why Does My Tower Fan Smell Dusty?
- 7.5 How Often Should I Clean A Tower Fan?
- 7.6 Can I Wash A Tower Fan?
- 7.7 Why Is My Tower Fan Noisier After Cleaning?
- 7.8 Is A Bladeless Tower Fan Easier To Clean?
- 7.9 Model Differences Matter
- 8 Summing Up
Key Takeaways
- Unplug the appliance before cleaning and let moving or hot parts stop fully.
- Use dry cleaning methods first: vacuum, soft brush and microfibre cloth.
- Keep water away from motors, heating elements, switches and controls.
- Follow the manual before removing grilles or panels.
- If cleaning does not fix noise, smell or performance, stop and investigate the fault.
Safe Cleaning Method
Start with the appliance switched off, unplugged and cool. Remove loose dust from vents and grilles with a vacuum brush. Use a soft brush for narrow slots and wipe the outside with a dry or barely damp cloth.
When To Do A Deeper Clean
If airflow is weak, the appliance smells dusty, or visible lint remains behind the grille, check the manual for safe access. Do not force hidden clips or remove screws unless the product is designed for user cleaning.
What Not To Do
Do not spray water into the appliance, use harsh solvents, run it while damp, or poke metal objects through grilles. Those shortcuts can damage motors, heaters, sensors and safety cut-outs.
Maintenance And Warning Signs
Clean before heavy seasonal use and again when dust is visible. Stop using the appliance if it smells hot, sparks, rattles sharply, trips the electrics or has a damaged cable.
For how these fans move air, see our guide to how tower fans work.
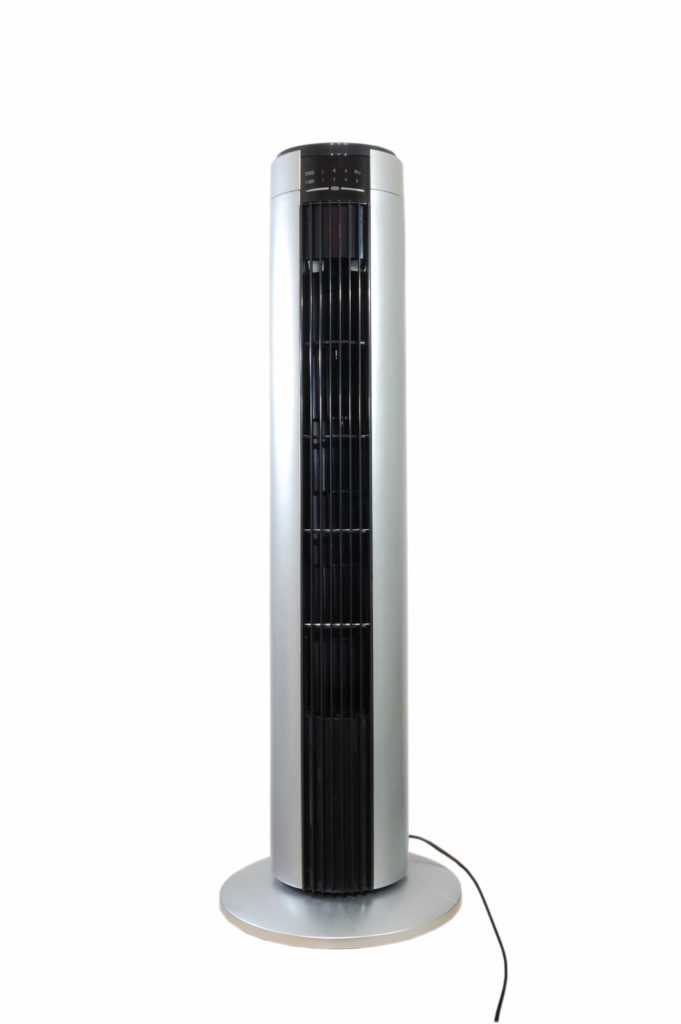
Cleaning A Tower Fan Without Opening It
Most tower fans can be improved without taking the casing apart. Vacuum the rear intake vents, brush dust towards the vacuum nozzle, wipe the outlet slots and use short bursts of compressed air outdoors if the manual allows it. This removes the dust that most affects airflow.
When A Deeper Clean Is Worth It
If the fan still smells dusty, makes a rubbing noise or has visible lint behind the grille, check whether the manufacturer provides disassembly instructions. If not, forcing the casing can break clips or leave the fan unsafe. In that situation, repeated external cleaning or replacement may be more sensible.
Seasonal Storage Tip
Clean the fan before storing it, not only when taking it out again. Dust left inside a fan over winter can absorb moisture, smell stale and become harder to remove. Store it covered in a dry space.
What A Clean Tower Fan Should Feel Like
After cleaning, airflow should feel steadier and the dusty smell should reduce. It may not become silent, because tower fans naturally have motor and airflow noise, but rattling, scraping or hot smells are not normal. If cleaning changes the sound for the worse, switch off and check that no grille or casing part is loose.
Cleaning Around Pets And Allergies
Homes with pets usually need more frequent fan cleaning because hair and dander collect around intake vents. If someone in the home has allergies, clean the fan outdoors where possible so dust is not blown back into the room.
Quick Clean Vs Deep Clean
A quick clean is enough when the fan is only lightly dusty: vacuum the vents, wipe the body and clean the base. A deep clean is only worth attempting when airflow is clearly restricted or dust is visible inside the grille. If the manufacturer does not show how to open it, do not turn a cleaning job into a broken casing.
Case Study: Cleaning Restored Performance
Background
A homeowner noticed lower airflow and more noise after months of use.
What Changed
They unplugged the appliance, vacuumed the vents, cleaned accessible grilles and avoided opening sealed motor areas.
Result
Airflow improved and noise reduced. The problem was dust restriction rather than a failed motor.
Expert Insights From Our HVAC Engineers
A tower fan pulls air through narrow slots for long periods, often from close to floor level. That means hair, fibres and dust collect where they are hardest to see. If the fan is used in a bedroom, near a pet bed or beside a desk, it may need more frequent cleaning than a fan used occasionally in a clean spare room.
Use the cleaning session to check stability as well as dust. The base should sit flat, oscillation should move smoothly, and the cable should not be stretched across a walkway. A fan that wobbles, clicks loudly during oscillation or smells hot after cleaning may have a mechanical or electrical issue rather than a dust problem.
Compressed air can help on some models, but it should be used carefully and preferably outdoors. Short bursts are better than blasting dust deeper into the fan. If dust clouds out of the vents, follow with vacuuming rather than leaving debris inside the casing.
One of our senior HVAC engineers with over 20 years of experience says cleaning should protect airflow without compromising safety. The most common mistake is being too aggressive: forcing panels, using water near electrics or bending internal parts.
He recommends a light cleaning routine more often instead of rare heavy cleaning. If an appliance needs dismantling to work properly, it may need servicing or replacement rather than more DIY effort.
Frequently Asked Questions
Can You Take A Tower Fan Apart To Clean It?
Only if the manual explains how and the casing is designed to open. Many tower fans use hidden clips that can snap, so start with vacuuming vents and external cleaning before disassembly. If dust returns quickly, clean the room around the fan as well; tower fans constantly pull floor-level dust and fibres through their vents.
How Do You Get Dust Out Of A Tower Fan?
Unplug it, vacuum the intake and outlet vents with a brush attachment, loosen dust with a soft brush and use short bursts of compressed air if suitable. Keep moisture away from the motor. If dust returns quickly, clean the room around the fan as well; tower fans constantly pull floor-level dust and fibres through their vents.
Can I Use Compressed Air?
Yes, carefully, but use short bursts and expect dust to blow out. Do it outside if possible and avoid spinning the internal fan violently with air pressure. If dust returns quickly, clean the room around the fan as well; tower fans constantly pull floor-level dust and fibres through their vents.
Why Does My Tower Fan Smell Dusty?
Dust and lint can build up on vents and internal parts. Cleaning the exterior vents may help, but persistent smells can mean deeper dust, damp storage or motor overheating. If dust returns quickly, clean the room around the fan as well; tower fans constantly pull floor-level dust and fibres through their vents.
How Often Should I Clean A Tower Fan?
Lightly vacuum the vents every few weeks during summer. Deep cleaning depends on dust levels, pets and use, but at least once before and after the season is sensible. If dust returns quickly, clean the room around the fan as well; tower fans constantly pull floor-level dust and fibres through their vents.
Can I Wash A Tower Fan?
Do not wash the appliance. Some removable plastic grilles may be washable if the manual allows it, but the motor and controls must stay dry. If dust returns quickly, clean the room around the fan as well; tower fans constantly pull floor-level dust and fibres through their vents.
Why Is My Tower Fan Noisier After Cleaning?
A loose grille, trapped debris, unbalanced internal fan or damaged clip can cause noise. Switch it off and check before running it for long periods. If dust returns quickly, clean the room around the fan as well; tower fans constantly pull floor-level dust and fibres through their vents.
Is A Bladeless Tower Fan Easier To Clean?
Usually, yes, because there are fewer exposed grilles and blades. However, filters and air channels still need cleaning according to the model instructions. If dust returns quickly, clean the room around the fan as well; tower fans constantly pull floor-level dust and fibres through their vents.
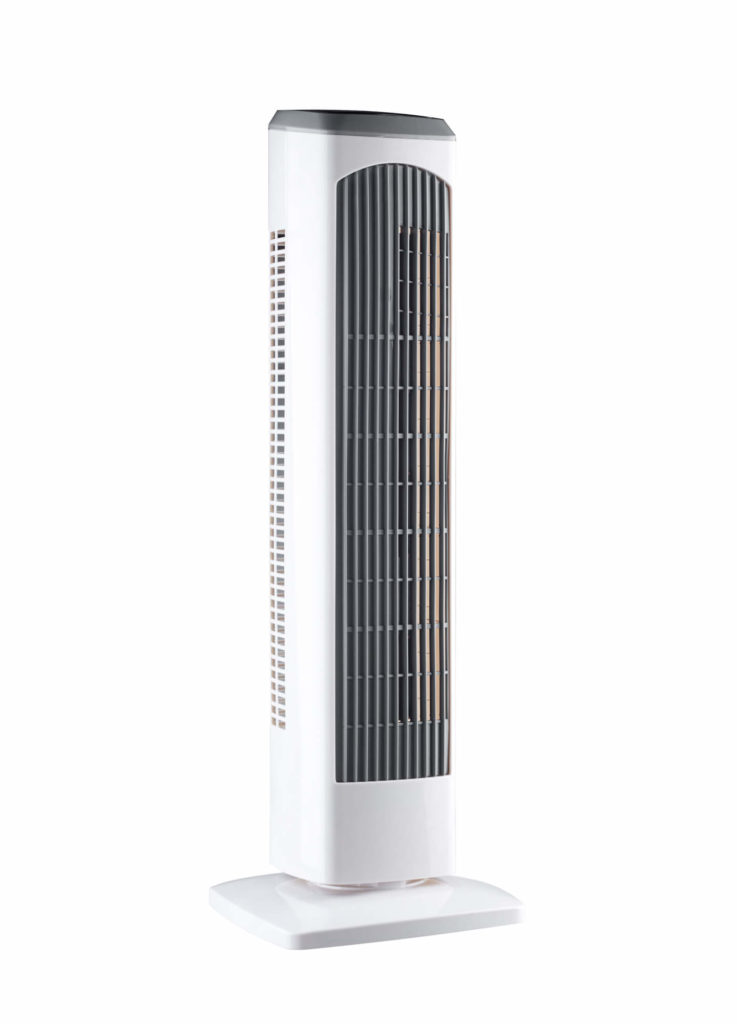
Model Differences Matter
Some tower fans are designed so the rear grille and fan wheel can be removed with a screw or supplied tool. Others are effectively sealed for normal users, with only the outside vents intended for cleaning. Xiaomi’s own UK support guidance, for example, separates washable grilles and blades from non-washable motor and power-adapter parts. That is a useful principle even if your fan is a different brand.
If the manual does not explain how to remove the grille, do not force the casing apart. Broken clips can leave the tower unstable, create rattles or expose wiring. A careful dry clean with a vacuum brush, soft paintbrush and microfibre cloth is often safer than a heroic dismantling job.
For a broader explanation of the appliance design, see our guide to how tower fans work.
| Symptom | Likely Cause | What To Try |
|---|---|---|
| Weak airflow | Dust on intake grille or fan wheel | Vacuum vents slowly and brush the grille slots |
| Dust smell | Build-up inside vents after storage | Clean dry, run briefly in a ventilated room |
| Rattle after cleaning | Loose grille, broken clip or debris | Switch off and check parts are seated correctly |
| Buzzing or hot smell | Electrical or motor issue | Stop using the fan and do not dismantle live parts |
Summing Up
Clean regularly, gently and safely. Dust removal can improve performance, but damaged cables, persistent smells, unusual noise or poor operation after cleaning should be treated as warning signs, not ignored.
The best tower fan cleaning routine is regular light maintenance rather than occasional aggressive dismantling. Vacuum the grilles during heavy summer use, clean removable parts only when the manual allows it, and stop using the fan if cleaning reveals damaged casing, a hot smell, buzzing or unstable operation. That approach protects airflow without turning a straightforward dust problem into broken clips, exposed parts or a noisy casing.
If the fan is used every day, make the quick clean part of normal room cleaning rather than waiting until airflow drops. A few minutes with a vacuum brush around the intake slots is usually enough to prevent the thick internal dust layer that makes deep cleaning tempting.
Updated