
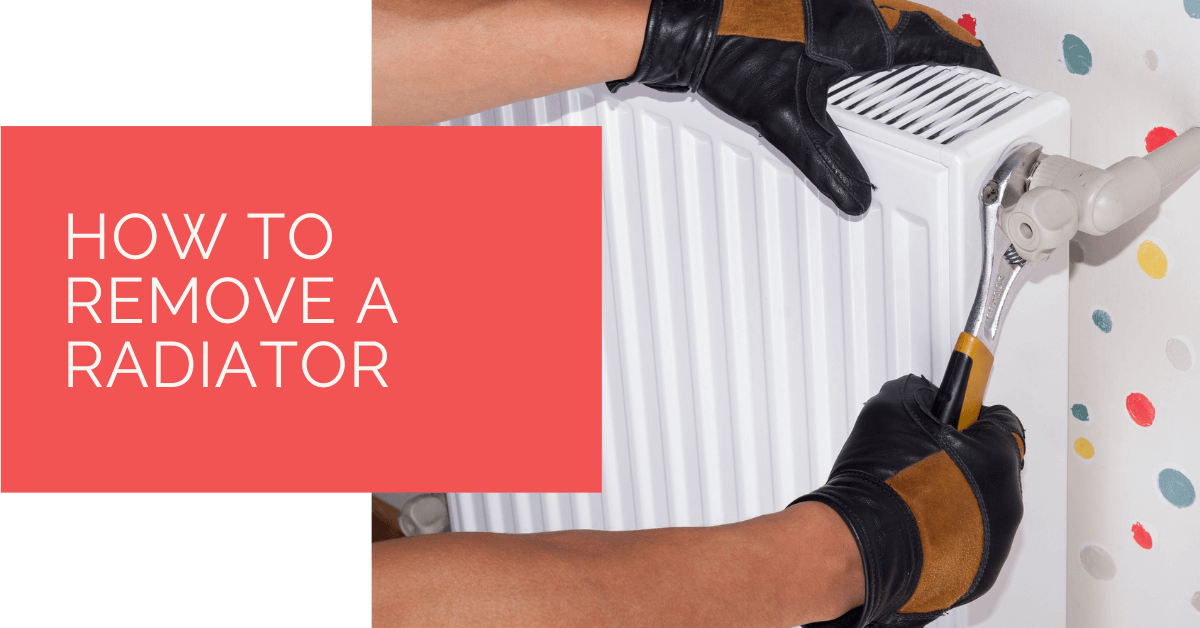
Removing a radiator can be a manageable DIY job if you are dealing with a straightforward radiator on a conventional wet central heating system. It can also go wrong quickly if valves seize, water is dirty, pipework moves or the system is pressurised in a way you do not understand.
This guide explains how to remove a radiator safely, what tools you need, how to drain it, what to check before lifting it off the wall, and when to stop and call a heating engineer.
Key Takeaways
- Turn the heating off and let the radiator cool fully before starting.
- Close both valves and protect flooring before loosening any nuts.
- Radiators can be heavier than expected, especially when water and sludge remain inside.
- If pipework moves, valves leak or the system is unfamiliar, stop and call a professional.
- After refitting, check pressure, bleed air and inspect for leaks.
Before You Start
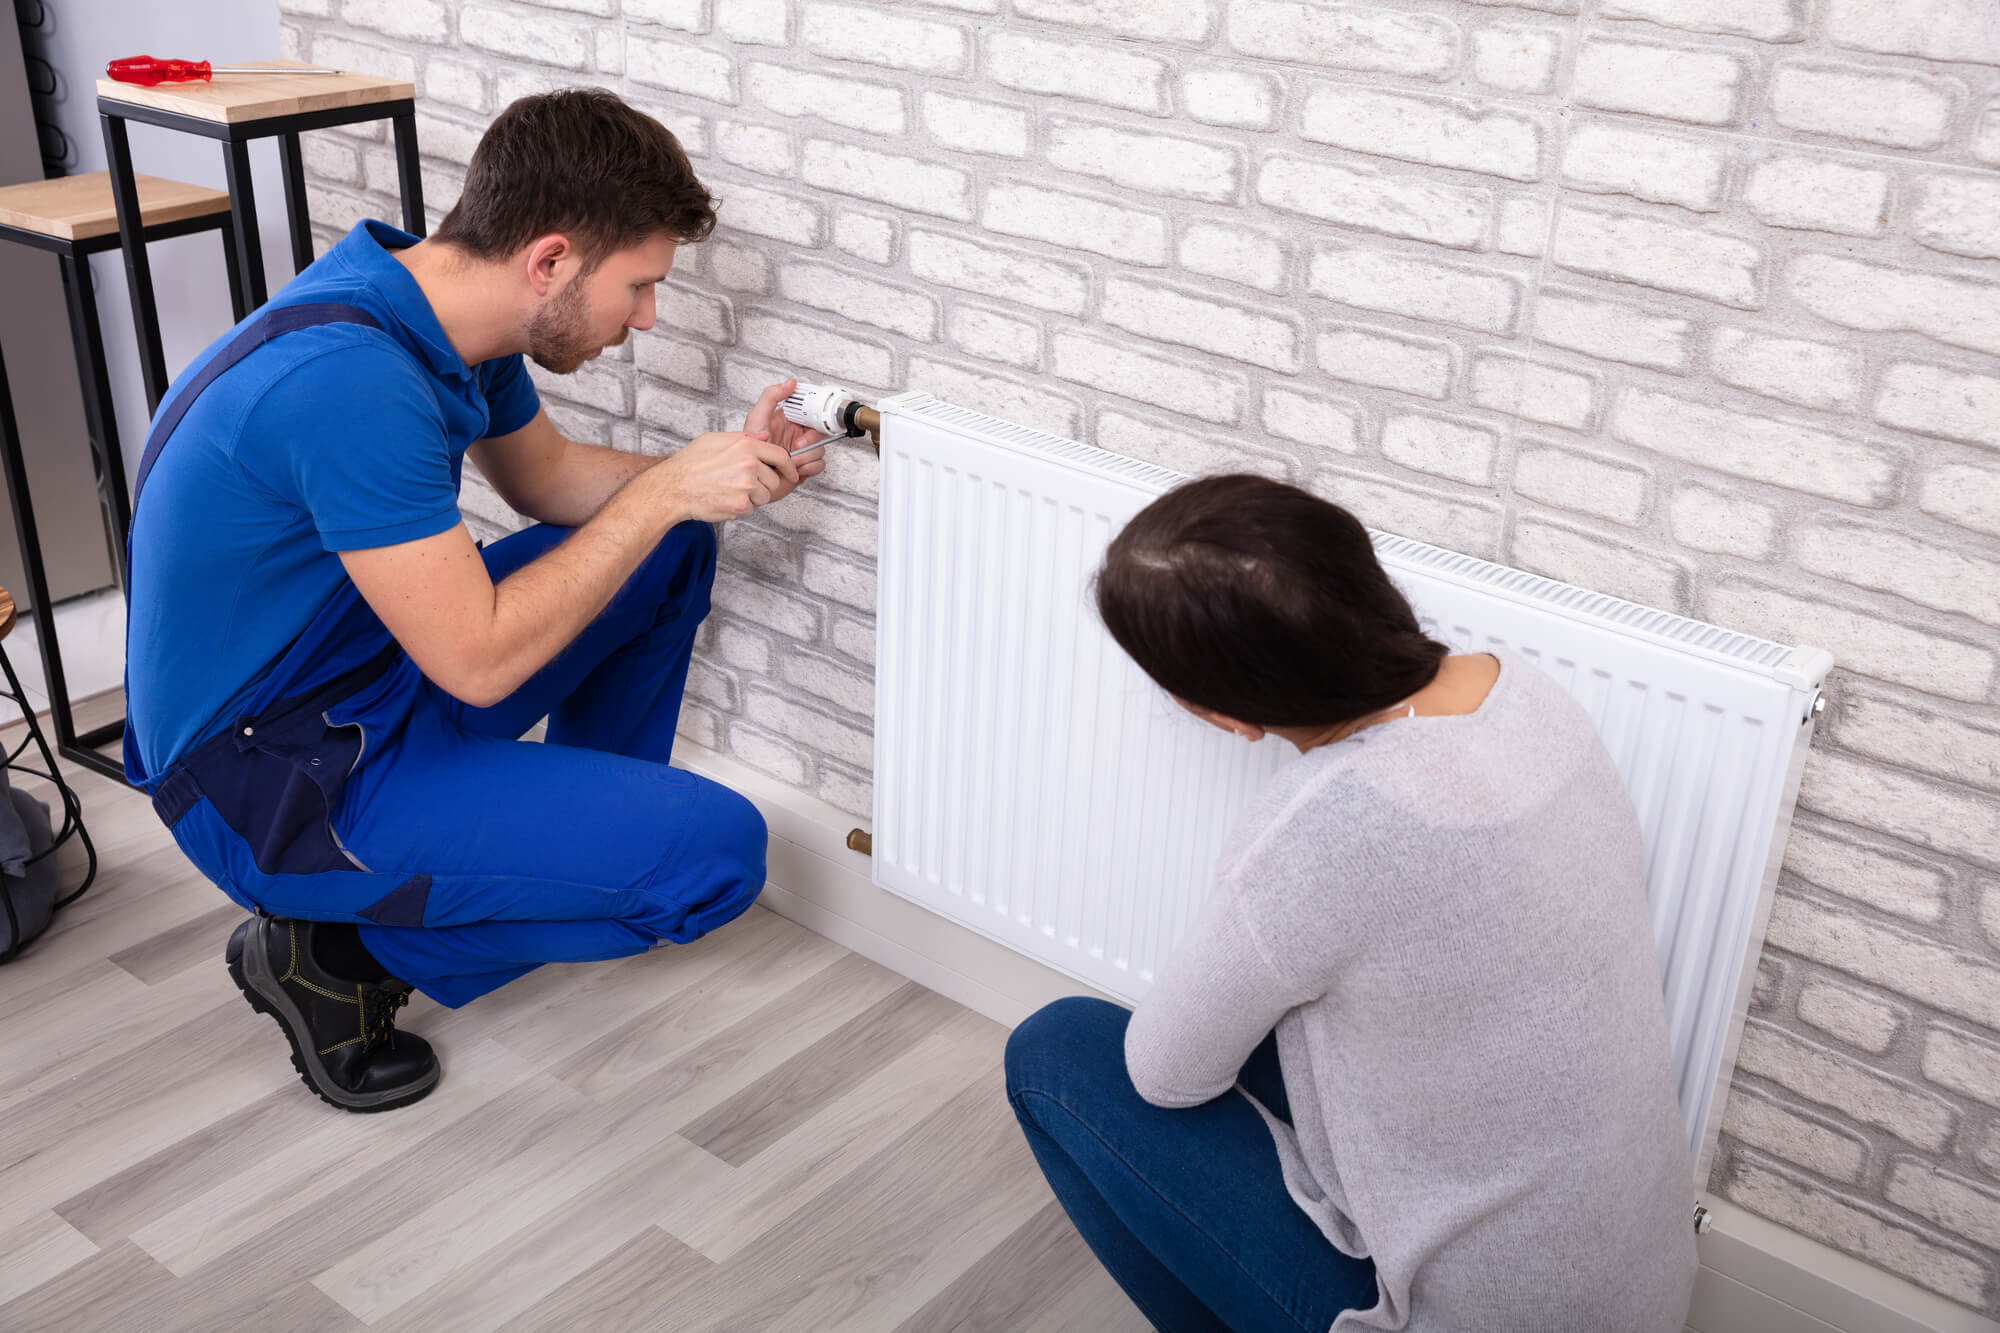
Identify the radiator type, valve arrangement and heating system. Most domestic radiators have a thermostatic radiator valve on one side and a lockshield valve on the other. Some older systems, towel rails and designer radiators may be less straightforward.
If you are removing a radiator because the room is being redesigned, check whether the replacement will still heat the room properly. Our radiator sizing guide can help before you choose a smaller or more decorative model.
Tools and Materials
- Adjustable spanners or radiator valve spanners.
- Radiator bleed key.
- Old towels and a shallow tray.
- Bucket for dirty water.
- PTFE tape if caps or fittings need sealing.
- Helper for lifting larger radiators.
- Blanking caps if the radiator will stay off for a while.
Step-by-step Radiator Removal
1. Turn the Heating Off
Switch off the heating and allow the radiator to cool completely. Hot water can scald, and warm dirty water can damage flooring. Do not rush this stage just because the radiator feels only mildly warm at the top.
2. Close Both Valves
Turn the thermostatic valve to off or frost setting, then close the lockshield valve by removing the cap and turning the spindle clockwise. Count the turns on the lockshield if you plan to refit the same radiator, as this helps restore the original balance.
3. Drain the Radiator
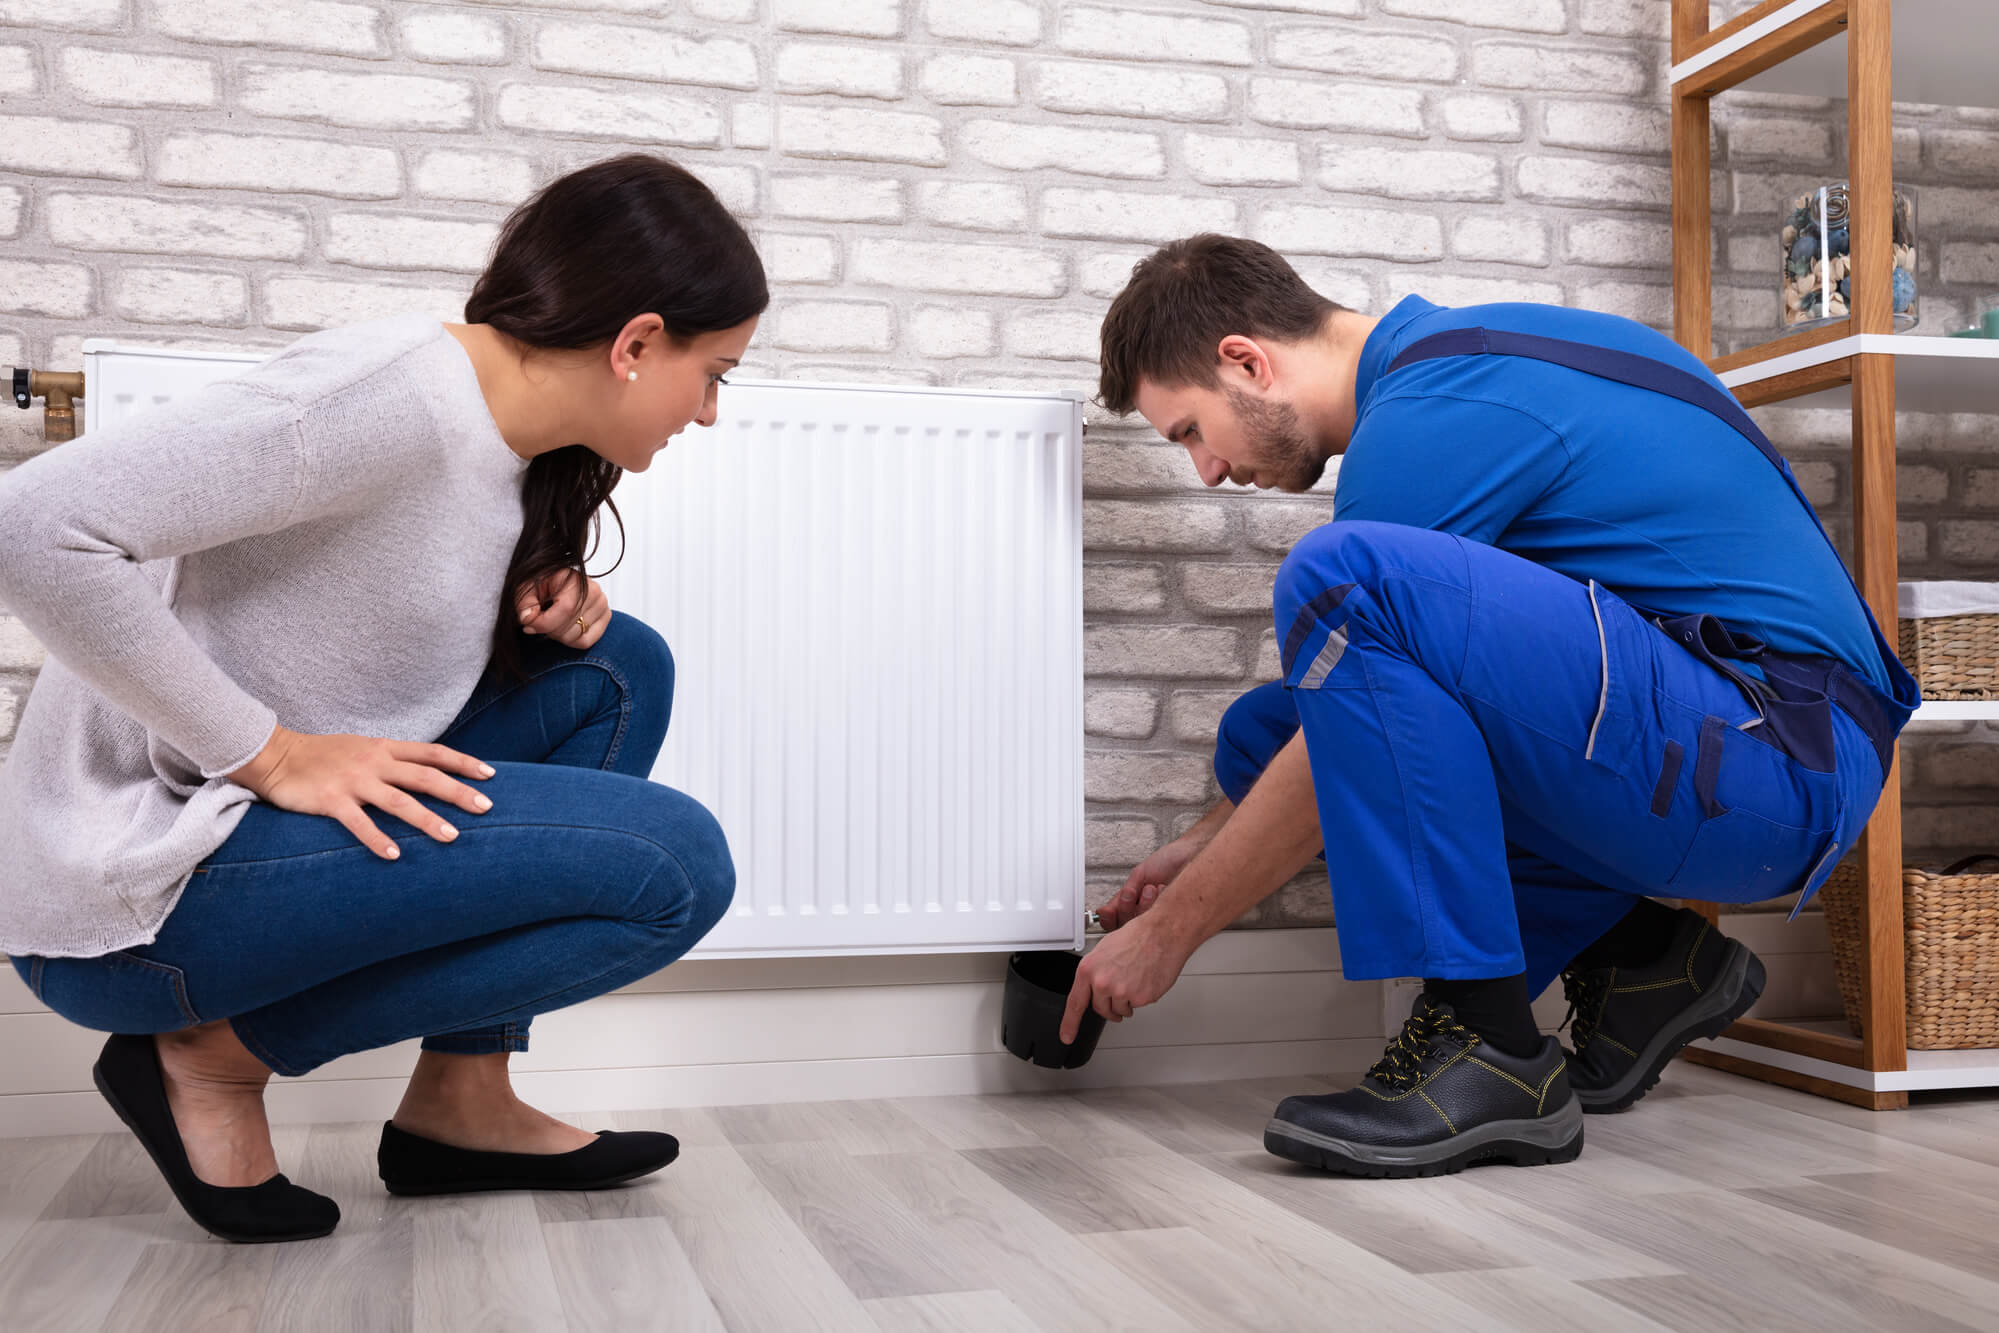
Place towels and a tray beneath the valve union. Loosen the nut carefully and let water drain into the tray or bucket. Open the bleed valve at the top of the radiator to let air in so water drains more freely.
4. Disconnect the Valves
Once water flow has slowed, loosen both valve connections. Support the valve and pipework with a second spanner if needed. Avoid twisting pipework, especially on older copper pipes or where the pipe disappears into a floor.
5. Lift the Radiator Off the Brackets
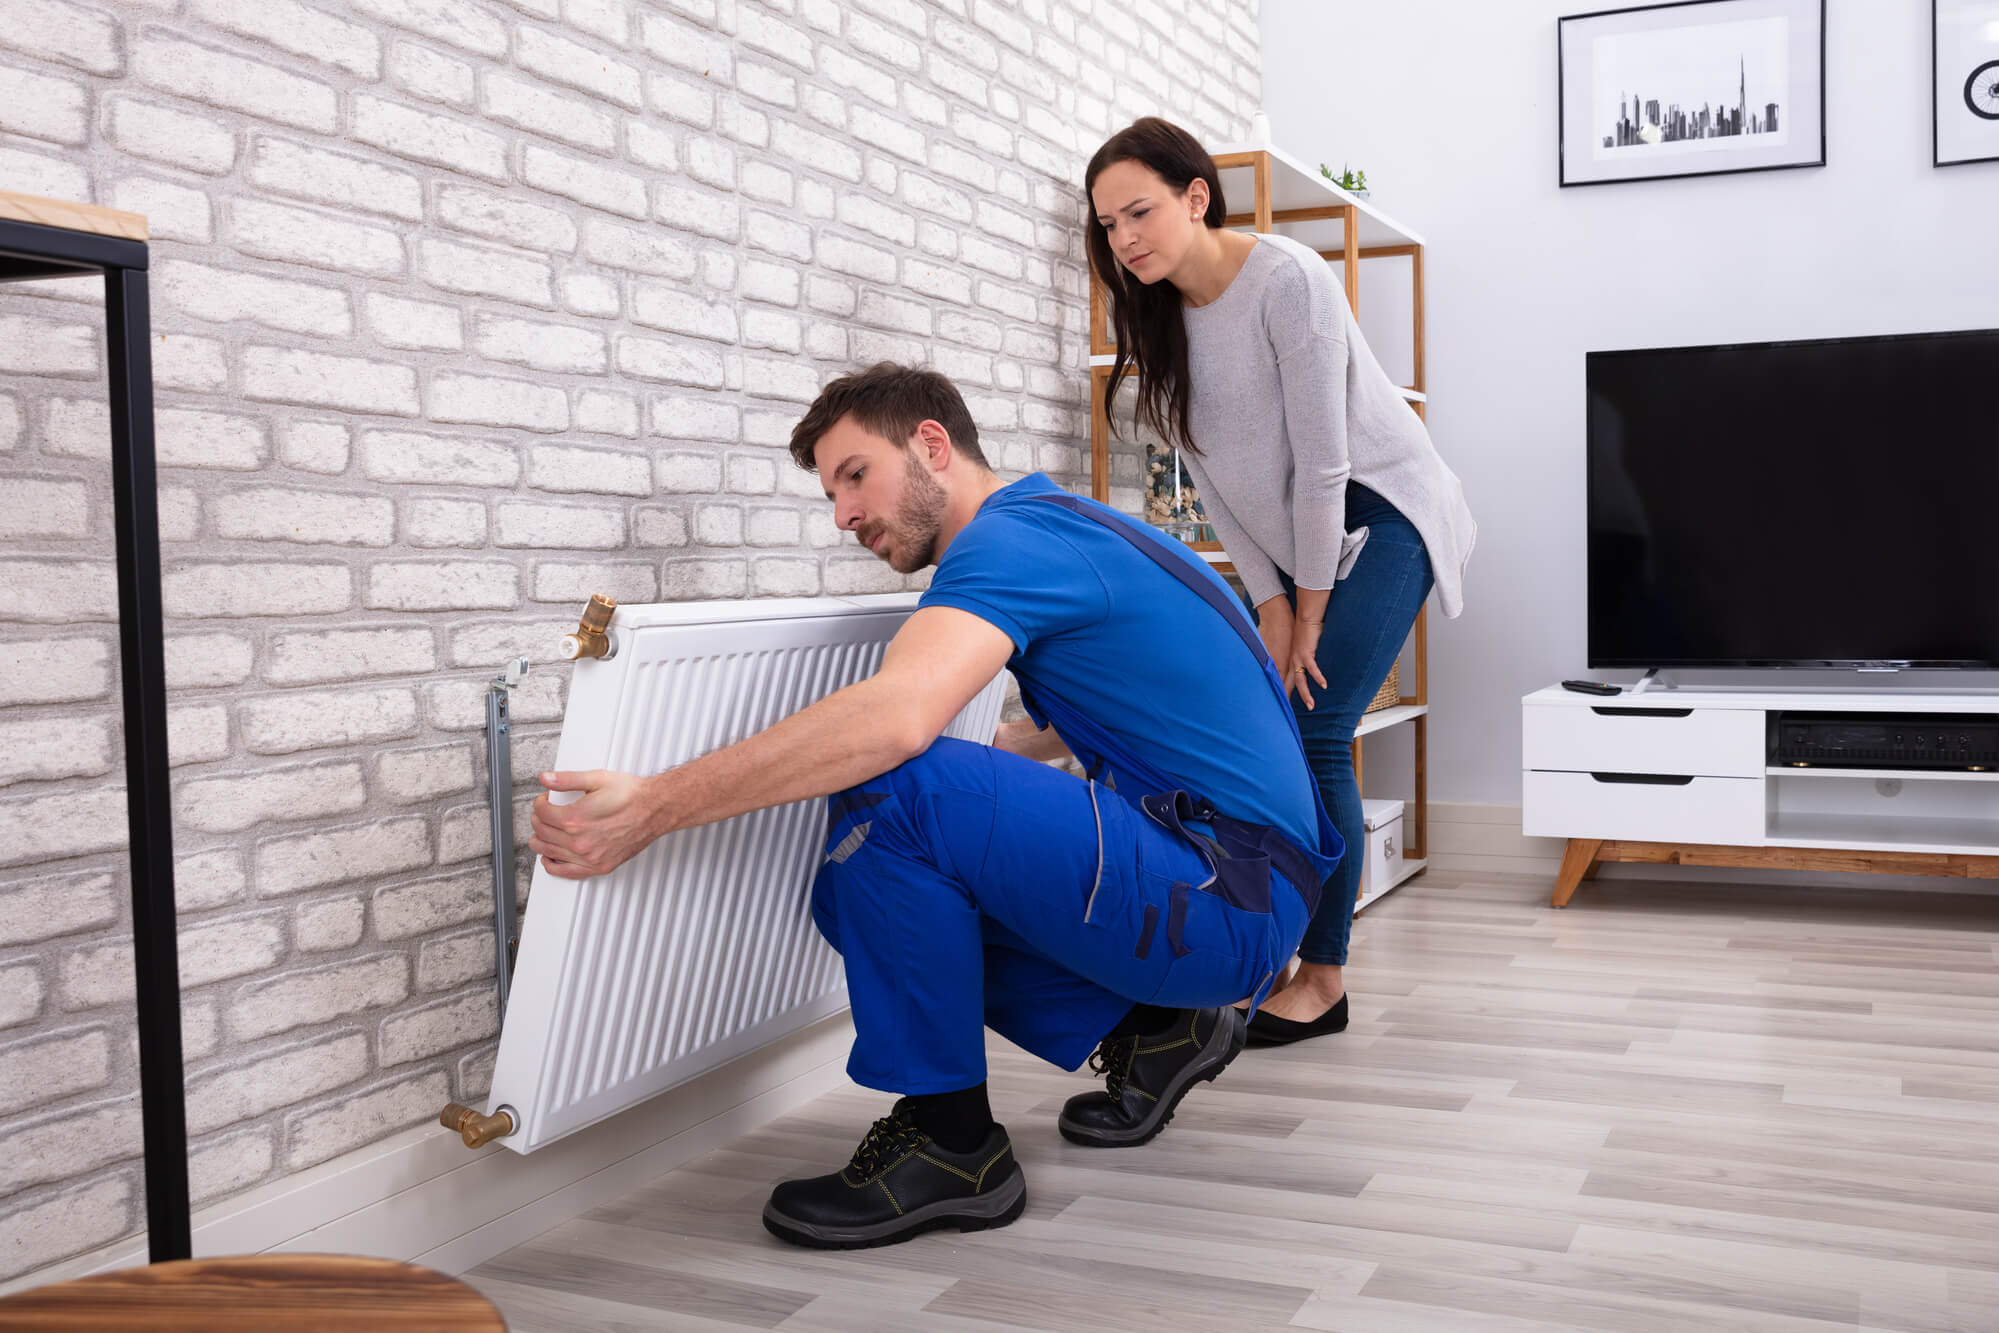
Radiators can still contain water and sludge even after draining. Lift carefully and keep the open ends upright where possible. Larger radiators should be lifted by two people. Have towels ready because dirty water often appears when the radiator is tilted.
Common Problems and What to Do
| Problem | Likely Cause | Best Response |
|---|---|---|
| Valve keeps dripping | Worn valve or not fully closed | Use a cap temporarily and consider replacing the valve. |
| Nut will not loosen | Corrosion or overtightening | Do not force pipework. Use a professional if needed. |
| Pipe moves when turning nut | Insufficient support or flexible pipe route | Hold the valve body and stop if the pipe twists. |
| Radiator is too heavy | Water or sludge remains inside | Get help, drain more slowly and avoid tipping suddenly. |
| System pressure drops after refitting | Water loss from sealed system | Repressurise correctly and check for leaks. |
When to Call a Heating Engineer
Call a professional if the valves are seized, pipework is fragile, the radiator is part of a complex system, you see leaks, or you are unsure how to repressurise the heating afterwards. Also be careful if you are removing radiators as part of a heat pump upgrade, because radiator output may be important to system efficiency.
If you are changing radiator type rather than removing one temporarily, our types of radiators guide explains the practical differences between panel, column, vertical and designer models.
Case Study: Removing a Radiator During Room Decoration
A homeowner removed a small bedroom radiator to decorate behind it. The job looked simple, but the lockshield valve was stiff and the radiator still held dirty water after the first drain attempt.
They stopped, protected the carpet more thoroughly and drained the radiator more slowly through the valve union. When lifting it away, they kept the valve ends upright and placed the radiator on old towels rather than carrying it straight through the house.
After decorating, the radiator was refitted, the lockshield was returned to its previous position and the system was repressurised. The homeowner checked the valve joints several times over the next day rather than assuming the first dry check was enough.
The lesson is that radiator removal is not difficult because of the theory. It becomes difficult when water, old valves, weight and flooring are underestimated.
The homeowner also photographed the valve positions before starting. When the radiator went back on, those photos helped restore the lockshield close to its original position rather than guessing and upsetting the room balance.
They kept the radiator isolated for a short period after refitting and checked the joints again with the heating hot. That second check caught a tiny weep before it reached the newly decorated wall.
The homeowner also labelled the valves and kept the old wall fixings until the radiator was safely back in place. That avoided a common problem: losing track of small parts halfway through decorating.
After refitting, they bled the radiator, topped up the system pressure and checked the boiler pressure again the following day. That second check gave a better indication that the system was stable.
Expert Insights from Our Heating Engineers About Removing Radiators
One of our senior heating engineers with over 18 years of experience says: “Most problems come from rushing the drain-down or twisting pipework. If a valve resists, stop and reassess before a small decorating job becomes a plumbing repair.”
If you remove a radiator and later find the room struggles to warm up, do not assume the replacement style is the only issue. Flow, balancing and radiator output all matter.
Refitting the Radiator Afterwards
Refitting is more than lifting the radiator back onto the brackets. Check that the brackets are secure, the radiator sits level and the valve tails line up without forcing the pipework. If the radiator has been off for decorating, paint or plaster can slightly change the way brackets and pipe collars sit.
Tighten valve connections carefully, then refill or repressurise the system if needed. Open the valves, bleed the radiator and check every joint with dry tissue. Check again after the heating has been running because small leaks sometimes appear only when the system warms and expands.
Disposal, Sludge and Mess
Old radiator water can be black and can stain carpets, wood floors and walls. Treat it as dirty from the start. Keep the radiator upright, cap or cover the openings where possible and avoid carrying it over pale flooring without protection.
If the water is very dirty or the radiator has cold spots at the bottom, sludge may be present. Removing one radiator can reveal a wider system-cleanliness issue. In that case, simply fitting a new radiator may not solve poor performance elsewhere in the house.
| After Refitting | What to Check |
|---|---|
| Cold top of radiator | Bleed air once the system is running. |
| Pressure has dropped | Repressurise a sealed system according to the boiler manual. |
| Valve joint is damp | Tighten carefully or remake the joint if needed. |
| Radiator does not heat | Check both valves are open and the system is balanced. |
| Boiler error appears | Pressure, air or circulation may need professional attention. |
Removing a Radiator Permanently
If the radiator is being removed permanently, the pipework should be capped properly and the heating system rebalanced. Do not simply leave closed valves hidden under flooring or behind furniture. Future leaks and confusion are much harder to deal with when old pipework has been buried or boxed in.
Permanent removal also changes heat output in the room and may affect nearby spaces. A radiator that seems unnecessary in mild weather may be doing useful work in winter, especially in halls, bathrooms and rooms with external walls.
DIY Risk Checklist
Before loosening a radiator, decide honestly whether this is a simple decorating job or the start of a plumbing task. A radiator on clean, accessible pipework with working valves is one thing. A radiator with corroded valves, boxed-in pipes or signs of leaks is another.
- Are both valves accessible and in good condition?
- Can you protect the floor from dirty water?
- Do you understand how to repressurise the system?
- Is the radiator light enough to lift safely?
- Will the pipes be left capped if the radiator stays off?
- Is there any sign of corrosion, staining or previous leakage?
If several answers are uncertain, getting help is cheaper than repairing water damage. Radiator water can stain quickly, and old valves can start leaking when disturbed.
What to Do If Something Goes Wrong
If a valve leaks, close it fully and use a towel and tray to control water while you decide the next step. If a pipe twists, stop turning the nut. If pressure drops and the boiler will not restart, check the manual before repressurising. Do not keep tightening fittings harder and harder, because that can damage threads or pipework.
After any radiator work, check again later the same day and the next morning. Slow weeps are easy to miss at first, especially around valve tails and compression fittings.
Final Sense Check Before You Start
Radiator removal is one of those jobs that looks smaller than it is. The steps are simple, but water damage, old valves and heavy radiators are unforgiving. If the radiator is large, the valves look corroded or the flooring is expensive, slow down and prepare properly.
It is also worth deciding whether the radiator is coming off temporarily or permanently. Temporary removal is mainly about careful isolation and refitting. Permanent removal should include proper pipe capping, balancing and a check that the room still has enough heat output for winter.
When in doubt, spend the money on help before the system is open. Paying for a short professional visit is usually cheaper than repairing a ceiling, carpet or damaged pipe after a rushed DIY attempt.
If the radiator is being removed for decorating, take the opportunity to inspect the wall, brackets and valves. Loose brackets, staining or old weeps are easier to deal with while the radiator is off than after the room has been freshly finished.
Keep the first heating cycle after refitting supervised. Let the system warm fully, then check each joint with dry tissue. A connection that looks dry when cold can sometimes weep once hot.
Take photos before you start, especially of valve positions and brackets. They are useful when refitting and can help a professional understand what has been disturbed if you need help later.
Frequently Asked Questions
Can I Remove a Radiator Myself?
Yes, if it is a straightforward radiator, the valves work properly and you are comfortable draining and refitting it. If the system is unfamiliar, pressurised, leaking or has seized fittings, it is safer to use a heating engineer.
Do I Need to Drain the Whole Heating System?
Not usually for a single radiator if both valves close properly. You can isolate and drain just that radiator. If valves do not hold, the system may need a wider drain-down or valve replacement.
How Long Does It Take to Remove a Radiator?
A simple radiator may take 30 to 60 minutes, but old valves, trapped water, heavy radiators and cleanup can add time. Allow longer if you need to protect flooring or if the radiator has not been removed before.
Will Removing a Radiator Affect Boiler Pressure?
On a sealed system, some pressure loss is likely if water is removed. After refitting, you may need to repressurise the system correctly and bleed air. Always check the boiler manual if unsure.
Should I Cap the Valves?
If the radiator will be off for more than a short period, capping the valves is sensible. Closed valves can still seep, especially older ones. Caps protect flooring and reduce the risk of a slow leak going unnoticed.
Can I Replace a Radiator with a Smaller One?
Only if the smaller radiator still meets the room heat demand. A smaller or more decorative radiator may look better but leave the room cold. Check heat output before changing size.
Do I Need to Balance the Heating After Removing a Radiator?
If the radiator is removed temporarily and refitted in the same place, returning the lockshield close to its original position may be enough. If the radiator is changed, removed permanently or replaced with a different size, balancing should be checked because flow around the circuit may change.
What Should I Check After Refitting a Radiator?
Check both valves, the bleed valve, the wall brackets and the boiler pressure. Run the heating until the radiator is hot, then check the joints again with dry tissue. A small leak can appear only once the metal expands, so do not rely on a quick cold check.
Summing Up
Removing a radiator is manageable when you work slowly, isolate the valves properly and respect the weight and mess involved. The safest approach is to stop early if valves, pipework or pressure do not behave as expected.
Updated